Gmsh with two materials?

Hi,

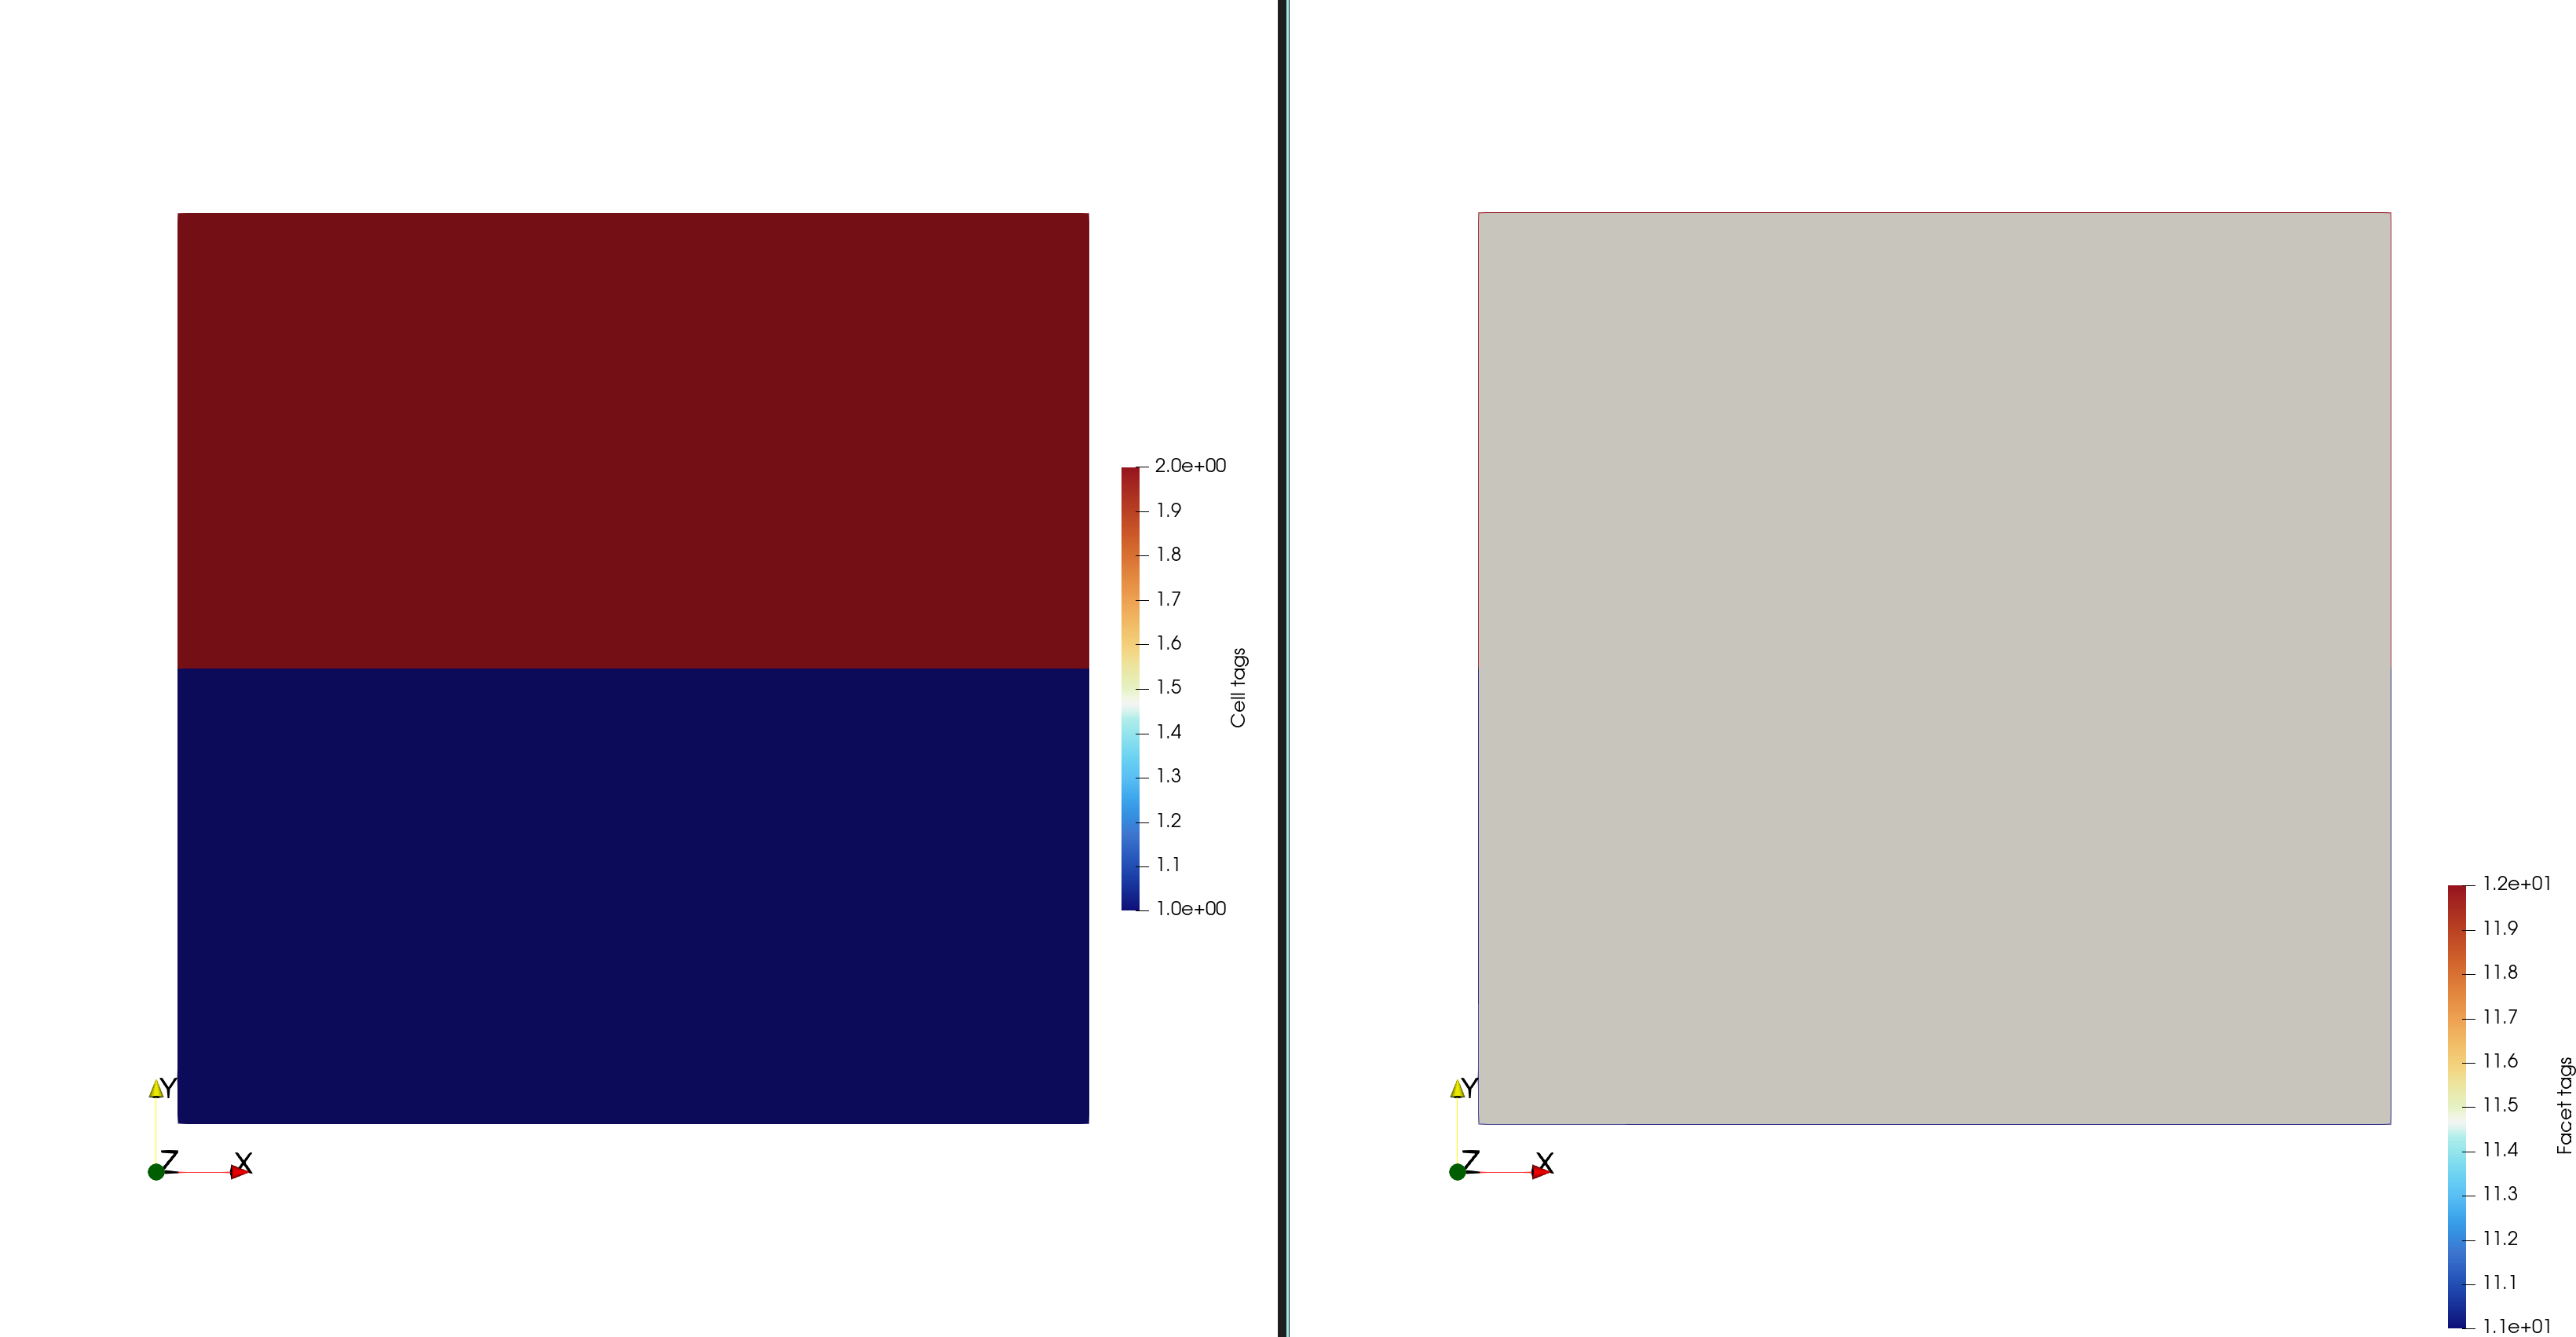
I’ve got stuck with something that should be a very simple question. I’m trying to model hydrogen diffusion in 2D out of a volume that consists of two materials, say W and Cu. Just imagine a closed box with a given thickness, and say top half of the box is W, and bottom is Cu. To specify proper boundary conditions, I need to define Physical Surfaces in gmsh, such as “W inside”, “Cu inside” and similarly for outside. But it looks like all the surfaces in gmsh are Curve Loops, i.e. they are closed. Is it possible to define Physical Surface that is not closed?

Hi @miklavrent

  1. Are you using FESTIM1 or FESTIM2?
  2. You need to use gmsh.model.addPhysicalGroup in GMSH in order to add either a volume subdomain or a surface subdomain. Consider this electromagnetics example from the DOLFINx tutorial.

Hi Remi,

Thank you! This is FESTIM1. Is it possible to use gmsh.model.addPhysicalGroup in .geo file?

Best wishes,
Mikhail

gmsh.model.addPhysicalGroup is a function of gmsh-python, so it shouldn’t go in the geo file.

How are you using GMSH? from the GUI? from the python API?

I write a .geo file, create .msh in Gmsh, and then translate it into .xdmf with Paraview.

Right, but how do you use GMSH? Is it the graphical user interface (GUI) or is it via python?

Oh I see, from a GUI.

This should be close to a MWE:

Lc1 = 0.001;

Point(1) = {0, 0 , 0, Lc1};
Point(2) = {0, 0.0108 , 0, Lc1};
Point(3) = {0.020 , 0.0108 , 0, Lc1};
Point(4) = {0.020, -0.020 , 0, Lc1};
Point(5) = {-0.030, -0.020 , 0, Lc1};
Point(6) = {-0.030, 0.0426 , 0, Lc1};
Point(7) = {0.020, 0.0426 , 0, Lc1};
Point(8) = {0.020 , 0.0118 , 0, Lc1};
Point(9) = {0, 0.0118 , 0, Lc1};
Point(10) = {0, 0.0226 , 0, Lc1};
Point(11) = {-0.010, 0.0226 , 0, Lc1};
Point(12) = {-0.010, 0 , 0, Lc1};

Line(1) = {1, 2};
Line(2) = {2, 3};
Line(3) = {3, 4};
Line(4) = {4, 5};
Line(5) = {5, 6};
Line(6) = {6, 7};
Line(7) = {7, 8};
Line(8) = {8, 9};
Line(9) = {9, 10};
Line(10) = {10,11};
Line(11) = {11,12};
Line(12) = {12,1};

Line(14) = {3, 8};
Line(16) = {9, 2};

Curve Loop(1) = {8, 16, 2, 14};
Curve Loop(2) = {1, 2, 3, 4, 5, 6, 7, 8, 9, 10, 11, 12};

Plane Surface (31) = {1};
Plane Surface (32) = {2};

// Physical Surface (“Cu inside”) = {16};
// Physical Surface (“Cu outside”) = {14};

// Physical Surface (“W inside”) = {9,10,11,12,1};
// Physical Surface (“W outside”) = {3,4,5,6,7};

Have you tried

Physical Surface("Cu volume") = {31};
Physical Surface("W volume") = {32};

It works and mesh is created if I add at the end:

Physical Curve (“Cu”) = {8, 16, 2, 14};
Physical Curve (“W”) = {1, 2, 3, 4, 5, 6, 7, 8, 9, 10, 11, 12};

Physical Curve (“Cu inside”) = {16};
Physical Curve (“Cu outside”) = {14};

Physical Curve (“W inside”) = {9,10,11,12,1};
Physical Curve (“W outside”) = {3,4,5,6,7};

Physical Surface (“Cu volume”) = {31};
Physical Surface (“W volume”) = {32};

But when I run

F.SievertsBC(surfaces=“W inside”, S_0=2.17e23, E_S=0.12, pressure=100000),

Python complains about “W inside”.

First things first: can you, from this .geo file, produce a .msh file?

Then, can you convert this .msh file with meshio to two XDMF files with tagged subdomains? Consider this complete tutorial.

If that’s the case, then you should be able to use the tags not the GMSH names in FESTIM.

For example, if the subdomain "W inside" is tagged with the integer 3, then you should use

F.SievertsBC(surfaces=3, S_0=2.17e23, E_S=0.12, pressure=100000),

Good morning Remi,

I decided to do the most basic structure: a square, bottom half in Cu, top half is W, exactly as the tutorial says:

pip install gmsh

import gmsh as gmsh
gmsh.initialize()
gmsh.model.add(“mesh”)

Lc1 = 1e-3
p1 = gmsh.model.occ.addPoint(0, 0 , 0, Lc1)
p2 = gmsh.model.occ.addPoint(0, 0.005 , 0, Lc1)
p3 = gmsh.model.occ.addPoint(0, 0.010 , 0, Lc1)
p4 = gmsh.model.occ.addPoint(0.010, 0.010 , 0, Lc1)
p5 = gmsh.model.occ.addPoint(0.010, 0.005 , 0, Lc1)
p6 = gmsh.model.occ.addPoint(0.010, 0 , 0, Lc1)

l1 = gmsh.model.occ.addLine(p1, p2)
l2 = gmsh.model.occ.addLine(p2, p3)
l3 = gmsh.model.occ.addLine(p3, p4)
l4 = gmsh.model.occ.addLine(p4, p5)
l5 = gmsh.model.occ.addLine(p5, p6)
l6 = gmsh.model.occ.addLine(p6, p1)
l7 = gmsh.model.occ.addLine(p2, p5)

all_loop = gmsh.model.occ.addWire([l1, l2, l3, l4, l5, l6])
cu_loop = gmsh.model.occ.addWire([l1, l7, l5, l6])
w_loop = gmsh.model.occ.addWire([l2, l3, l4, -l7])

all_surface = gmsh.model.occ.addPlaneSurface([all_loop])
cu_surface = gmsh.model.occ.addPlaneSurface([cu_loop])
w_surface = gmsh.model.occ.addPlaneSurface([w_loop])

remove_overlap = gmsh.model.occ.remove_all_duplicates()

gmsh.model.occ.synchronize()

gmsh.fltk.run()

cu_id = 11
w_id = 12
gmsh.model.addPhysicalGroup(1, [l5, l6, l1], cu_id, name=“cu_outside”)
gmsh.model.addPhysicalGroup(1, [l2, l3, l4], w_id, name=“w_outside”)

At this point Python complains:
Warning : Unknown entity of dimension 1 and tag 5 in physical group 11
Warning : Unknown entity of dimension 1 and tag 6 in physical group 11
Warning : Unknown entity of dimension 1 and tag 1 in physical group 11
Warning : Unknown entity of dimension 1 and tag 2 in physical group 12
Warning : Unknown entity of dimension 1 and tag 3 in physical group 12
Warning : Unknown entity of dimension 1 and tag 4 in physical group 12

Looks like it doesn’t see the lines!
:frowning:

I can reproduce this warning. If you print

print(gmsh.model.getEntities(dim=1))

Before run() you will see

[(1, 7), (1, 8), (1, 9), (1, 10), (1, 11), (1, 12), (1, 13)]  

The indexing starts at 7. That’s because you have removed all duplicates (for example, cu_loop overlaps with the all_loop).

I’m not a GMSH expert so maybe there is a better way to do this, but commenting out all_surface = gmsh.model.occ.addPlaneSurface([all_loop]) removes the warning.

import gmsh as gmsh

gmsh.initialize()
gmsh.model.add("mesh")

Lc1 = 1e-3
p1 = gmsh.model.occ.addPoint(0, 0, 0, Lc1)
p2 = gmsh.model.occ.addPoint(0, 0.005, 0, Lc1)
p3 = gmsh.model.occ.addPoint(0, 0.010, 0, Lc1)
p4 = gmsh.model.occ.addPoint(0.010, 0.010, 0, Lc1)
p5 = gmsh.model.occ.addPoint(0.010, 0.005, 0, Lc1)
p6 = gmsh.model.occ.addPoint(0.010, 0, 0, Lc1)

l1 = gmsh.model.occ.addLine(p1, p2)
l2 = gmsh.model.occ.addLine(p2, p3)
l3 = gmsh.model.occ.addLine(p3, p4)
l4 = gmsh.model.occ.addLine(p4, p5)
l5 = gmsh.model.occ.addLine(p5, p6)
l6 = gmsh.model.occ.addLine(p6, p1)
l7 = gmsh.model.occ.addLine(p2, p5)

all_loop = gmsh.model.occ.addWire([l1, l2, l3, l4, l5, l6])
cu_loop = gmsh.model.occ.addWire([l1, l7, l5, l6])
w_loop = gmsh.model.occ.addWire([l2, l3, l4, -l7])

# all_surface = gmsh.model.occ.addPlaneSurface([all_loop])
cu_surface = gmsh.model.occ.addPlaneSurface([cu_loop])
w_surface = gmsh.model.occ.addPlaneSurface([w_loop])

remove_overlap = gmsh.model.occ.remove_all_duplicates()

gmsh.model.occ.synchronize()

cu_id = 11
w_id = 12

gmsh.model.addPhysicalGroup(1, [l5, l6, l1], cu_id, name="cu_outside")
gmsh.model.addPhysicalGroup(1, [l2, l3, l4], w_id, name="w_outside")
gmsh.model.addPhysicalGroup(2, [cu_surface], 1, name="cu_inside")
gmsh.model.addPhysicalGroup(2, [w_surface], 2, name="w_inside")

# export to .msh
gmsh.model.mesh.generate(2)
gmsh.write("mesh.msh")

gmsh.fltk.run()

Converting the mesh and exporting to XDMF I see:

Thank you Remi, it works now! :slight_smile:

1 Like